How to get Jest (and React Testing Library) up and running in Remix 🃏💿
If you are new to Remix and are trying to figure out how to set up Jest (and optionally React Testing Library), this guide can help you.
I learn this while working on the Remix example for Jest Preview, which is a stellar library that lets you see your app UI while testing. Check it out at the official website.
Having been working with React for a while, you have probably heard about or used Jest for your unit/integration testing needs. Its strong ecosystem is one of the reasons why Jest has become so prominent in the JavaScript/React world. For me, libraries like React Testing Library, MSW, and Jest Preview are what make writing Jest tests so much more fun.
If you are moving to Remix, you might have noticed that their “official” templates (Blues, Indie, and Grunge) all use Vitest as the default test framework. While Vitest is growing in popularity, maybe you just want to stick with Jest for the time being due to its familiarity. This guide will show you how to do just that.
🃏 Please keep in mind that this guide assumes a Remix app created with create-remix with no testing framework installed.
Install Jest
First, install jest itself. If you are using jest version 28 or later, you must install jest-environment-jsdom too (according to their migration guide).
npm i -D jest jest-environment-jsdom
Configure Jest’s desired behavior by creating jest.config.js at the root of your project (next to package.json). Below is an example config you can copy-paste. It handles Remix’s absolute imports for you too! ✨
// jest.config.js

module.exports = {
  collectCoverageFrom: [
    '**/*.{js,jsx,ts,tsx}',
    '!**/*.d.ts',
    '!**/node_modules/**',
  ],
  moduleNameMapper: {
    // Handle absolute imports in Remix
    '~/(.*)': '<rootDir>/app/$1',
  },
  setupFilesAfterEnv: ['<rootDir>/jest.setup.js'],
  testPathIgnorePatterns: [
    '<rootDir>/node_modules/',
    '<rootDir>/.cache/',
    '<rootDir>/build/',
  ],
  testEnvironment: 'jsdom',
  transform: {
    // Use babel-jest to transpile tests
    // https://jestjs.io/docs/configuration#transform-objectstring-pathtotransformer--pathtotransformer-object
    '^.+\\.(js|jsx|ts|tsx)$': 'babel-jest',
  },
  transformIgnorePatterns: ['/node_modules/'],
};
Don’t forget to create jest.setup.js at your project root, in case you need to run some common code before each test file is run. If you come from Create React App, this file is similar to setupTests.js. Leave this file empty for now.
// jest.setup.js
Next, for Jest to understand JSX, you need to install babel-jest and its related presets, and do some configuration inside babel.config.js. If this file doesn’t exist, again, create one at the root of your project.
npm i -D babel-jest @babel/preset-env @babel/preset-react
// babel.config.js

module.exports = {
  presets: [
    ['@babel/preset-env', { targets: { node: 'current' } }],
    ['@babel/preset-react', { runtime: 'automatic' }],
  ],
};
Finally, add the familiar test NPM script to your package.json so that each time you want to fire up Jest, simply run the command npm run test.
{
  "scripts": {
    // ...
    "test": "jest --watch"
  }
}
…And that’s it! 🎉 You have successfully set up Jest in your Remix app. Now you are free to install your favorite testing library and start testing with Jest right away. Mine is React Testing Library, and if you want further guidance to install that, keep reading!
Install React Testing Library
As of the time of this post, create-remix initializes with React version 17, which is not the latest one (version 18). This is why we need to install React Testing Library version 12, because from version 13 onward, support for React 17 or below is dropped.
With that in mind, install @testing-library/react version 12, and optionally @testing-library/jest-dom if you want some nice additional matchers (like toBeInTheDocument()).
npm i -D @testing-library/react@12 @testing-library/jest-dom
If you installed @testing-library/jest-dom, add this line to your jest.setup.js to use the new, shiny matchers.
// jest.setup.js

import '@testing-library/jest-dom';
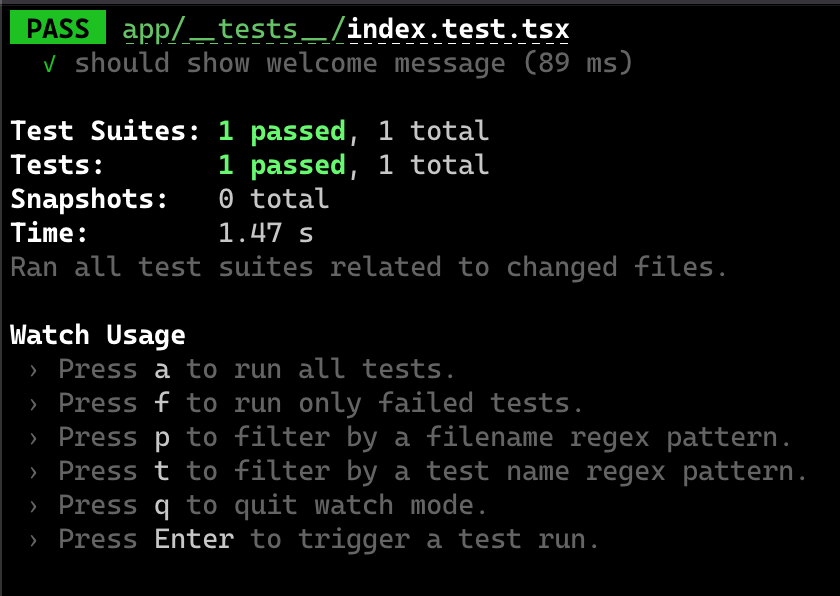
🎊 Done. You can verify that you have set up everything correctly by creating a test file at app/__tests__/index.test.js (or .ts if you use TypeScript) and seeing it passes.
// app/__tests__/index.test.js

import { render, screen } from '@testing-library/react';
import Index from '../routes/index';

it('should show welcome message', () => {
  render(<Index />);

  expect(
    screen.getByRole('heading', { name: /welcome to remix/i }),
  ).toBeInTheDocument();
});

It sure feels good to see the green.
Conclusion
I hope you found this guide helpful. Besides the usual perks (and pains, haha), if done correctly, testing in React can be delightful. Happy coding, and remember to have good coverage for your code. If you have any questions, feel free to drop me a message on Twitter and I will be happy to get back to you. Cheers 🤜 🤛